Google Authenticator
Add a second factor, so a stolen password is not enough on its own.
 View full size
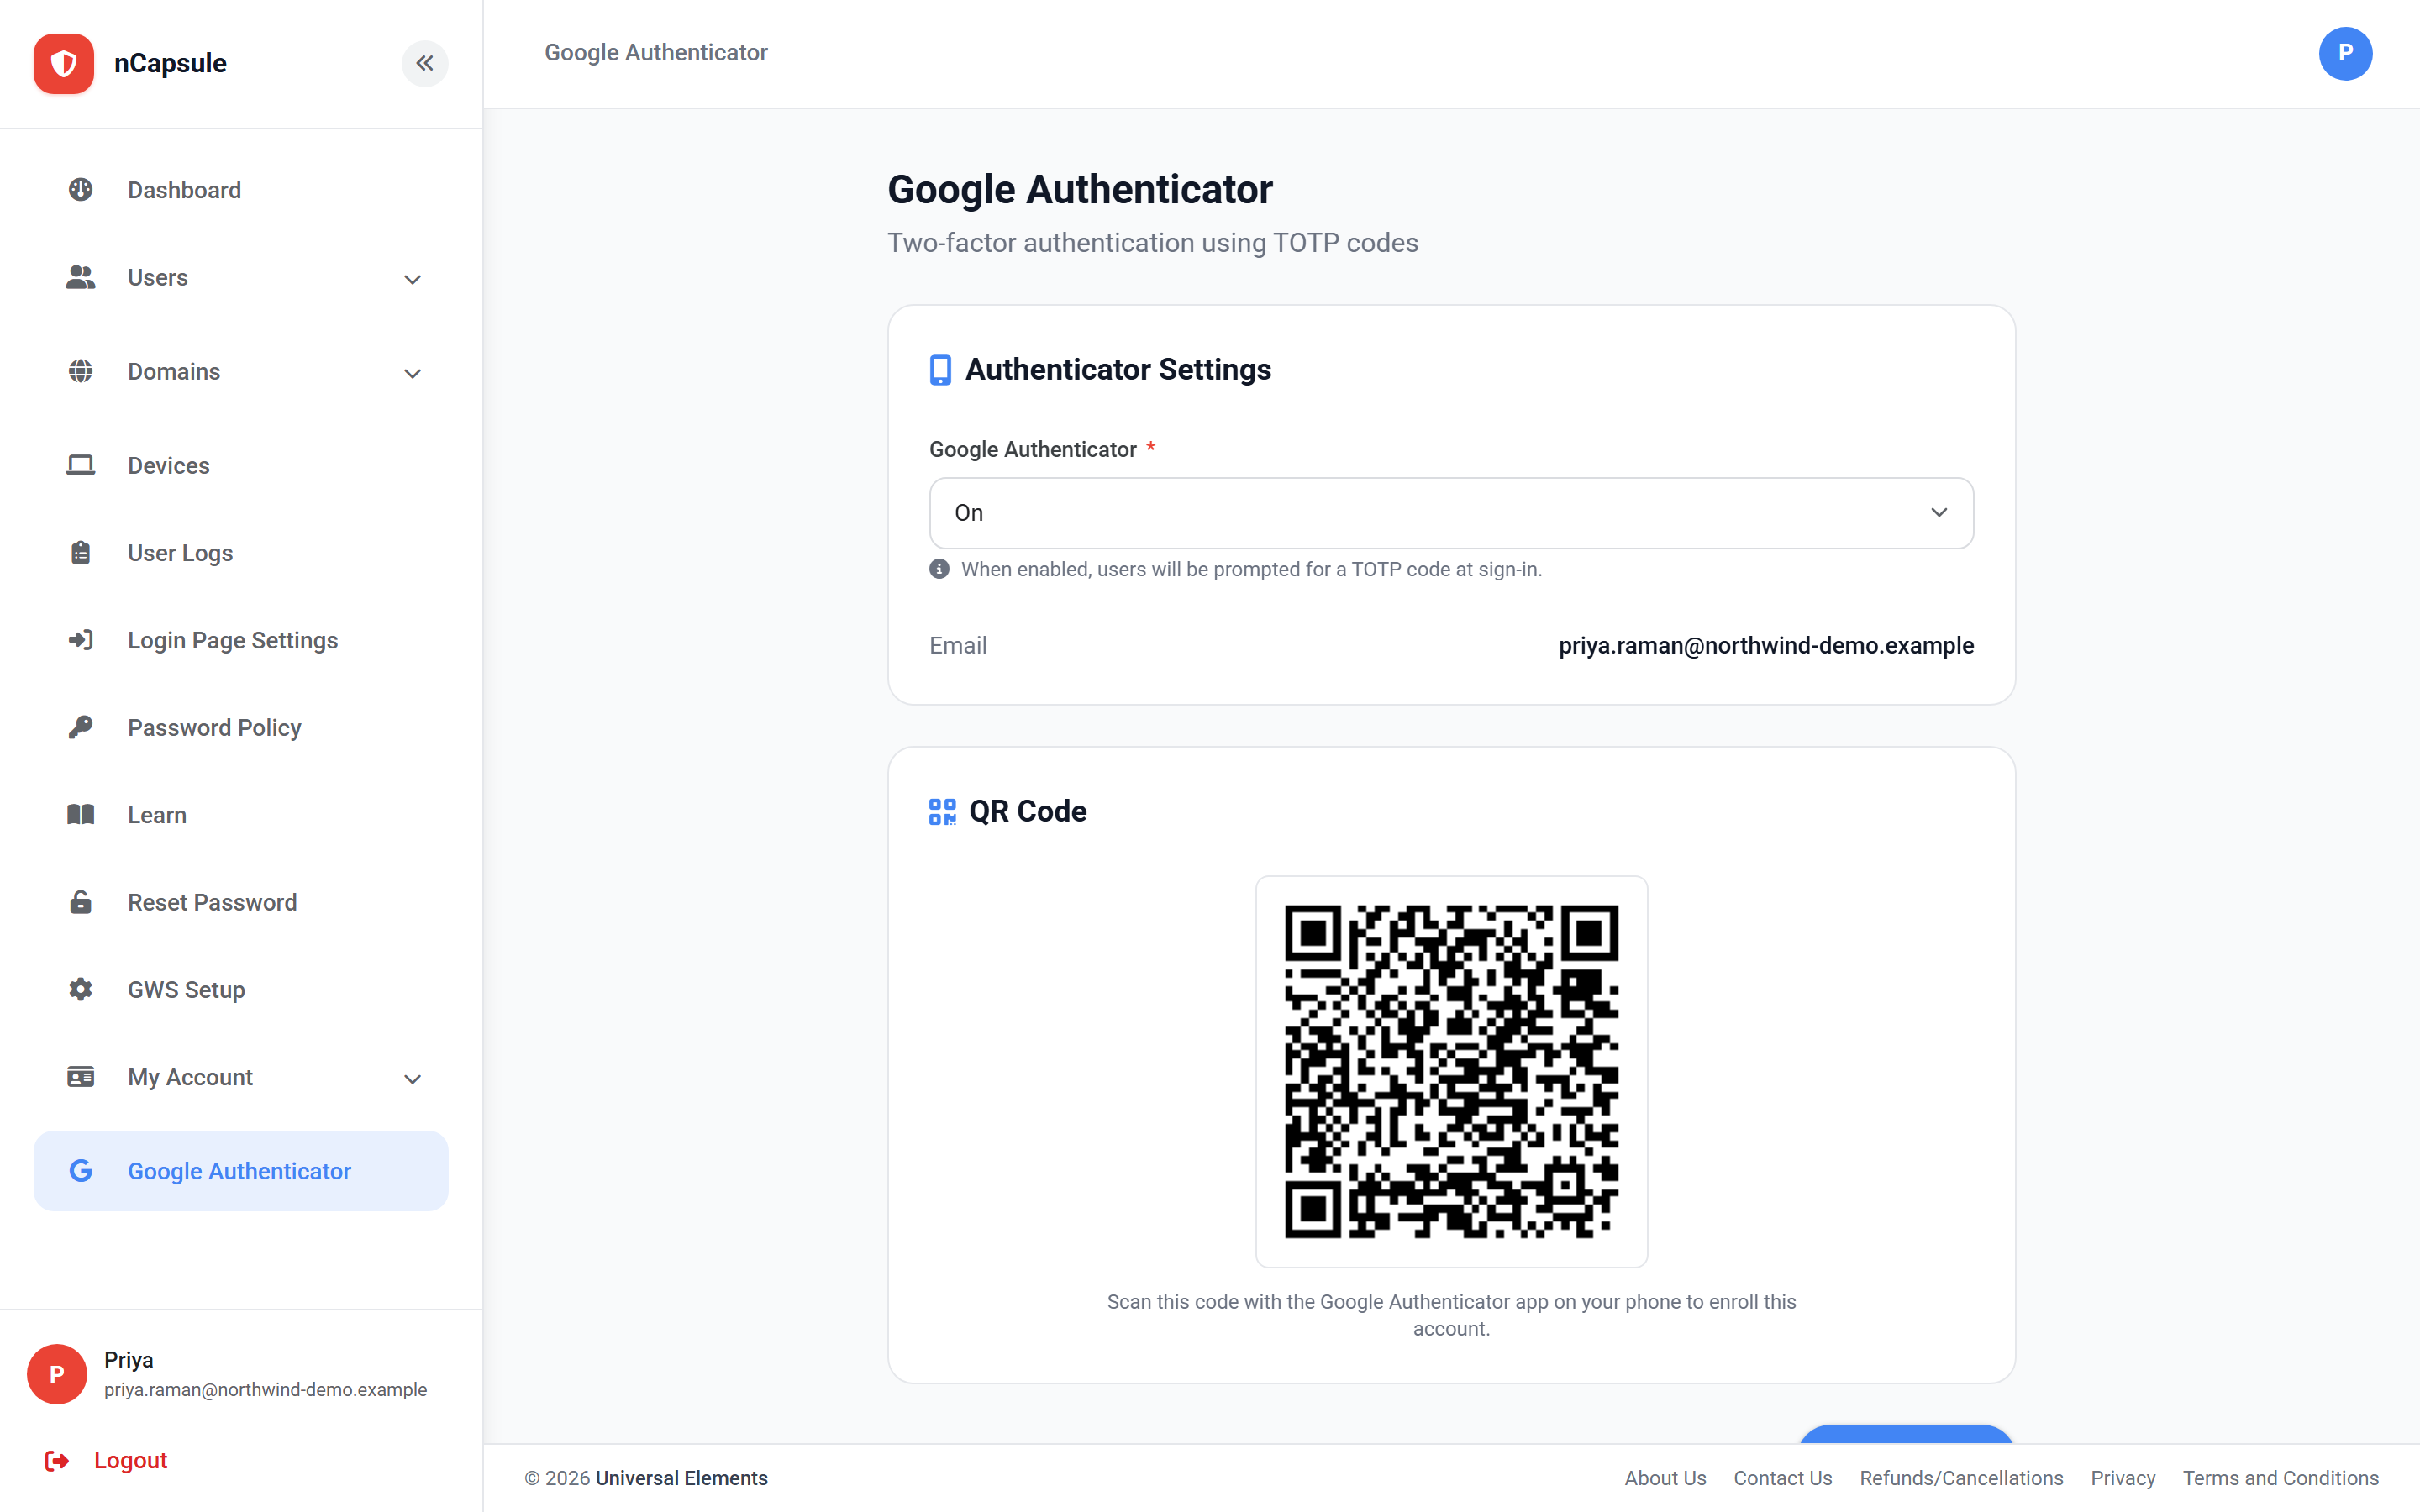
With the authenticator switched on, signing in takes a six-digit code from the user's phone as well as their password. The code changes every thirty seconds and never travels over the network, so someone who has stolen a password still cannot get in.
This is the single most effective control here. Geo-fencing, sign-in hours and travel detection all narrow where and when a stolen password can be used; a second factor makes the password insufficient by itself.
- 1 Set Google Authenticator to On and save.
- 2 Install Google Authenticator, or any TOTP app, on your phone.
- 3 Scan the QR code that appears with that app.
- 4 Type the six-digit code it shows into the verify field to confirm it works.
- 5 From your next sign-in, enter a fresh code after your password.
The QR code on this page belongs to whoever is signed in, so a user sets up their own phone. As an admin you can require the authenticator for others from their user record or with Bulk Manage Users, but you cannot scan the code for them.
Switch the authenticator off for that user, then on again: a new secret is issued and they can enrol the replacement device. There is no self-service route, which is deliberate — it would be an obvious way around the second factor.
TOTP codes are computed from a shared secret and the clock, so they work with no signal and never travel over the network. If codes are rejected consistently, the usual cause is the phone's clock drifting rather than a wrong secret.
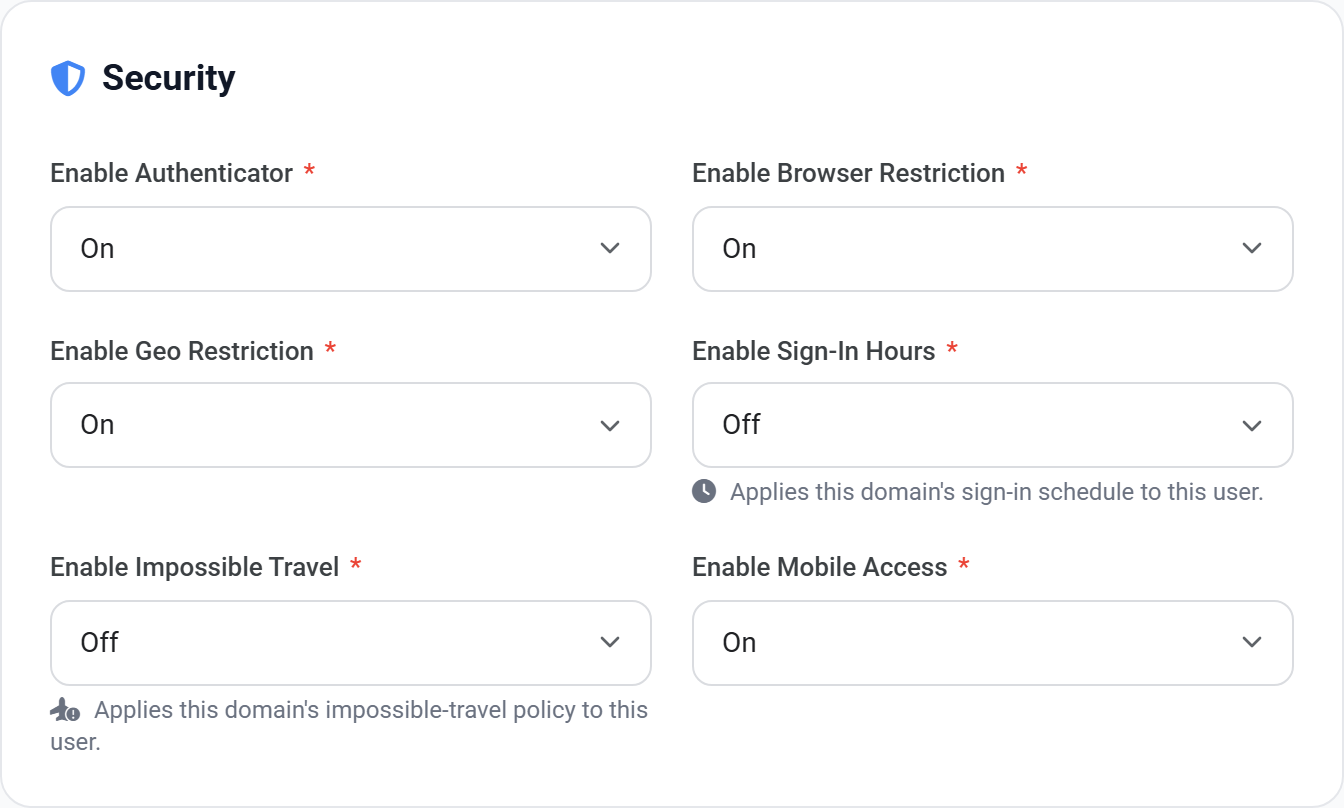
The page above is how a person enrols their own phone. Requiring the authenticator for someone else is done on their user record.
- 1 Go to Users → All Users and open the person.
- 2 On the Security card, set Enable Authenticator to On.
- 3 Tell them to open Google Authenticator in their own account and scan the QR code.
- 4 Confirm they have enrolled before relying on it — an unenrolled user is refused.
 View full size
Users → Bulk Manage Users can set Authenticator across a selection. Check the Security column on Users → All Users afterwards to see who is still not enrolled.